 |
| Before the B&W Face Preset |
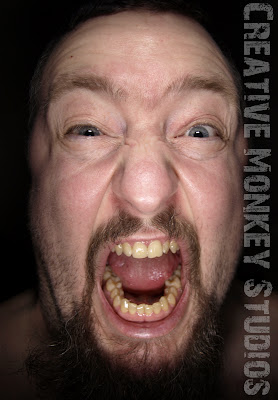
Yes this is a scary image of me. But that was the intent. Once day I did a series of shots based on movie characters. I posed for shots of the likes of Gandalf from the Lord of the Rings trilogy and Hannibal of Silence of the Lambs and this one, my favorite from the series, is my King Leonidas from the movie 300. Imagine the words "This is Sparta" being bellowed out.
See this image as a reference to what I was trying to accomplish:
So while the color image has its own power and impact, I was actually envisioning something a little more powerful... something a little more shocking. Something that would make people say OGM!
So I began playing with a black and white version of the image in Lightroom and wouldn't you know it, I was able to create the image I envisioned.
In the image on the right, yes it is the same image, I developed a setting that I was able to use on all of the series images. I made the following adjustments once I converted the image to black and white:
Blacks is set to 25, Clarity set to 100, Contrast set to 91, Aqua gray value set to -12, Blue gray value set to 29, Green gray value set to -24, Magenta gray value set to 10, Orange gray value set to -11, Purple gray value set to 15, Red gray value set to -10, Yellow gray value set to -16, Recovery set to 33 and in the tone curve my settings were Highlights 0, Lights 23, darks -20 Shadows 0; which creates a slight S-Curve. A fun way to add some serious intensity to an already tense image.
Download Here
To install the preset, copy the file in the zip (xxx.lrtemplate) to your Develop Presets folder on your computer. If you don't know where to find this folder, open Lightroom. Click on Edit menu and select Preferences. Click on the Presets tab and click the Show Lightroom Presets Folder... button.


